1. Basic Docker notions
Duration1h AI Banned
Installation
First step is obviously to have available the Docker Engine on your computer. Follow the instructions from the installation guide.
Testing
Starting the Docker Engine results in the service daemon being run. In order to communicate with the service, a client is needed, and during this practical activity, we will mainly use the command line client. We know the temptation to use the graphical Docker Desktop/Dashboard interface will be strong, but writing the complete command instructions to manipulate the different components of your Docker architecture is preferable from a pedagogical point of view.
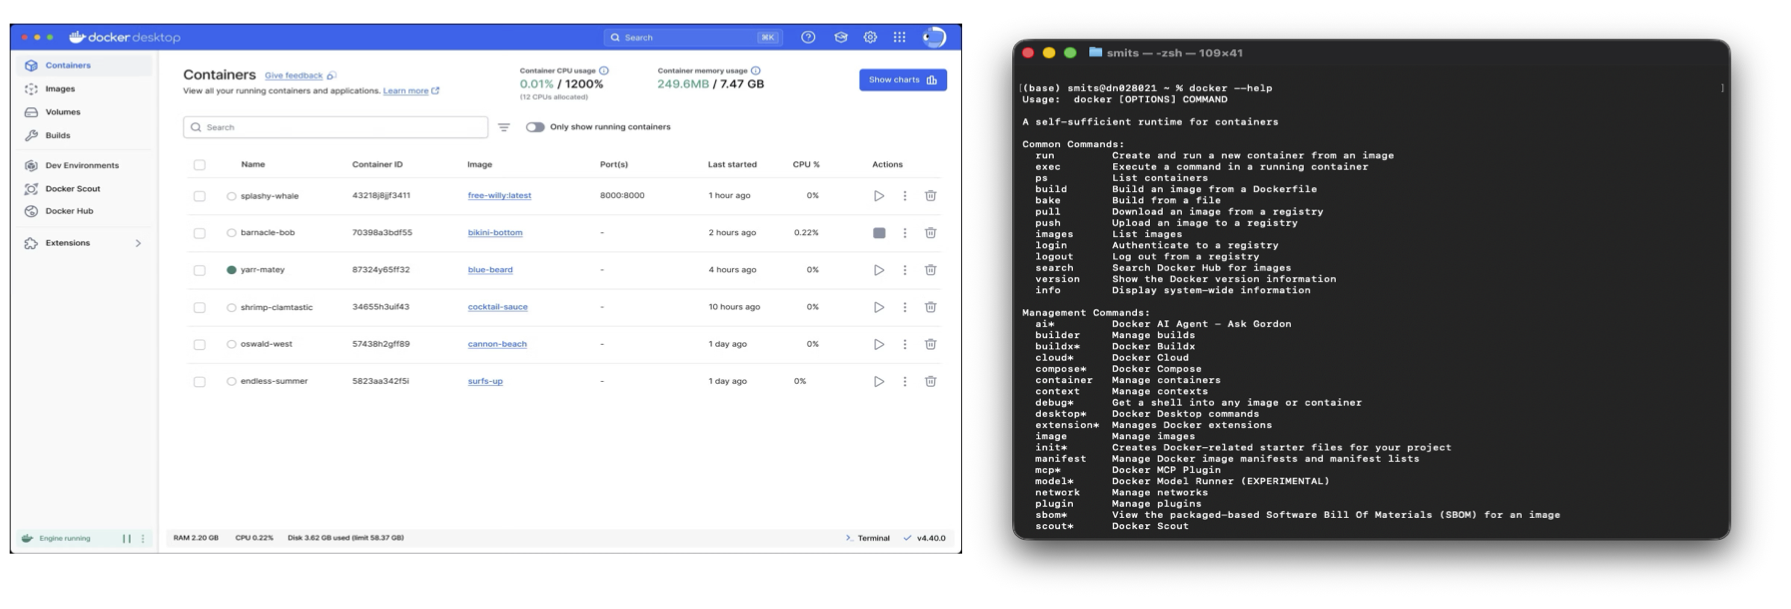
Testez votre installation en démarrant un container de test nommé hello-worldà l’aide de la commande suivante :
|
|
Observez les processus qui sont en cours d’exécution sur votre machine et retrouvez celui correspondant au service Docker Engine.
Step-by-step construction of a DB architecture
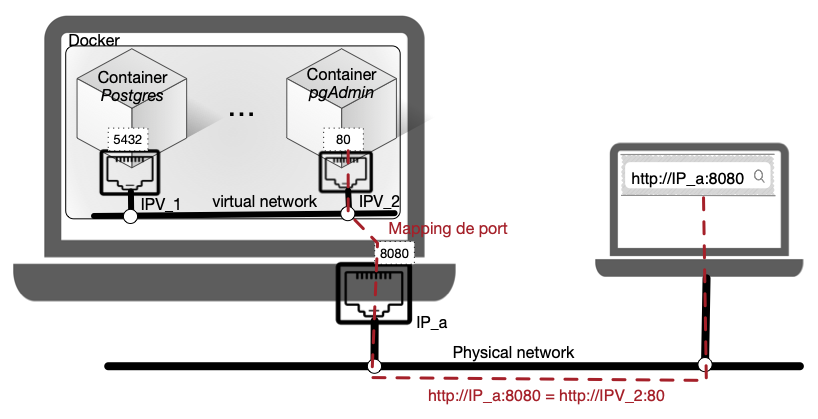
The goal of this exercice is to set up the container-based architecture illustrated in the following figure :
Turning an image into a container
The docker pull <imagename> command can be used to download an image from the default repository (i.e. Docker Hub).
Browse the Docker Hub to find the name of the official postgresql image and add it to your local repository of images.
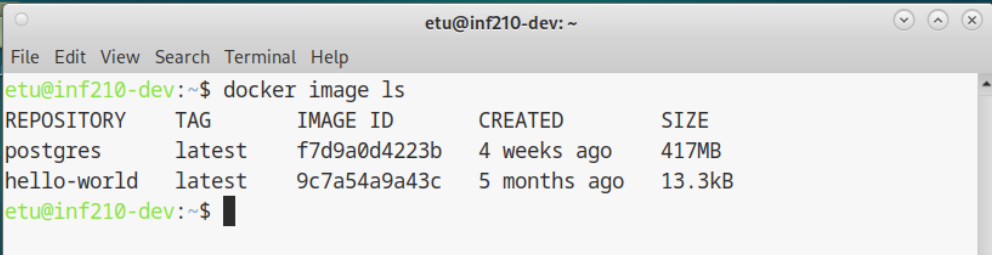
{% include callout.html content=“The search field in the Docker Desktop application allows you to browse your local images and the Docker Hub.” markdown=“span” type=“primary” %}
A container corresponds to the execution of an image and, unlike the image which is read-only, contains a writable space (a layer) for data. The docker container run [options] <image_name> command allows you to start a container from an image.
Start a container that you will name Postgres from the image you previously downloaded, specifying the following options:
- -e POSTGRES_PASSWORD=pgpwd to specify the administrator password (role
postgres) of the PostgreSQL service
{% include callout.html content=“Don’t forget that all Docker reference documentation can be found here. In particular, you will find the documentation for the docker container run command to learn how to give a specific name to a container.” markdown=“span” type=“primary” %}
From another terminal (the first one being occupied in the foreground by the process running your Postgres container), list the running containers with the docker container ls command (or docker ps). You can also find the list of running containers from the Docker Desktop interface.

Accessing and managing your container
Arrived at this step of the activity, you have deployed the rudimentary architecture illustrated below:
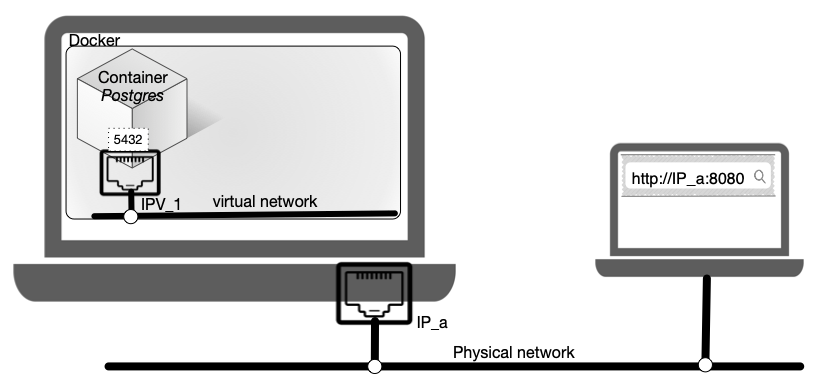
As there is no other machine on the virtual network and no network link between your host and the Postgres container, let’s use Docker facilities to access your container.
The goal of this exercice is to open a terminal on the container to manipulate first its file system.
From another terminal, use the docker exec command to run a /bin/bash in the terminal. Check the documentation to complete the command and obtain the following prompt :

From the Docker Desktop, you can also obtained a terminal by clicking on your container and then on the exec tab. By default the shell is just an sh but running the bash command leads to a more user-friednly shell.

Container = non persistent data
As you now have accessed your container, i.e. a read-write layer on top of an image, let’s create some data.
Simply create a file with your name containing the sentence “I love Brittany!”.
A quick way to do so is to run the following commands:
|
|
Now explore the different states of the container to check that a container can be stopped or paused without any loss of data. However, deleting a container means deleting all its data.
Here are some additional basic commands to manipulate containers:
- list all containers (those that are running and those that are stopped) with the
docker container ls -acommand - stop a container with
docker container stop <container_id> - start a container with
docker container start <container_id> - remove a container with the
docker container rm <container_id>command. Warning: all container data will be deleted.
Make your containerized data persistent
Removing a container implies deleting its data. Volumes make it possible to store a part (i.e. a directory) of your container on your physical hard drive.
In this exercice, you will run a container and link one of its directory to a Docker volume, thus making its content independent from the container.
- Helped by the documentation on Docker volumes, create a volume named testvol.
- Remove completely your Postgres container
- Run a new postgres container taking care to mount your testvol volume to the directory
/root/of your container. - Open a terminal in your Postgres container and create some files in the
/root/directory. - Remove completely your running Postgres container
- The following command aims at running a minimalist Linux container called
alpineinto which the volume testvol is mounted in the/root/Datadirectory and opening in interactive mode a shelldocker run -it --mount type=volume,src=testvol,dst=/root/Data/ 7ad00e65ee25 /bin/sh - Check that the directory
/root/Data/contains the files created in the Postgres container
Accessing a container through a (virtual) network
Let’s complete our architecture by adding a new container running a web server that provides an access to the pgadmin4 Postgresql client.
Here are the steps to follow:
- Retrieve the last official image of pgadmin4
- Run a container named Pgadmin4 from the pgadmin4 image taking care of publishing/mapping the port 80 of the container to the port 8080 of your host machine. Check the run command documentation to find the appropriate set of options. As for the Postgres container, you will also have to set an administrator password (use pgpwd for instance) and an administrator mail address (use pgadmin@imta.fr for instance).
Once done, you can access the pgadmin web page at the following address: http://127.0.0.1:8080.
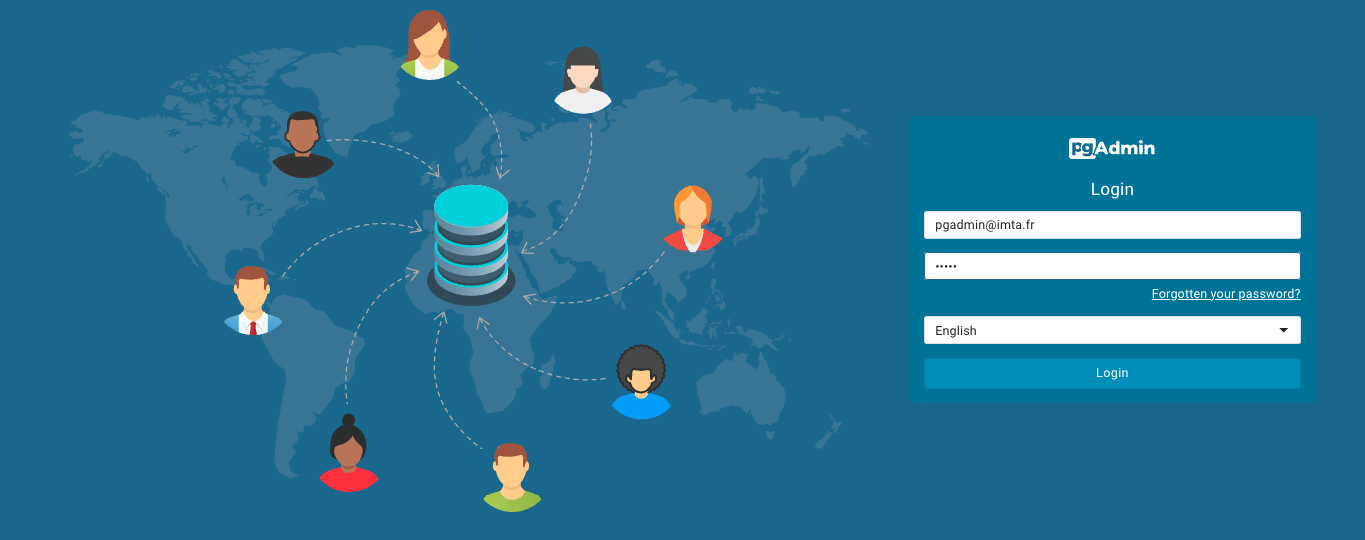
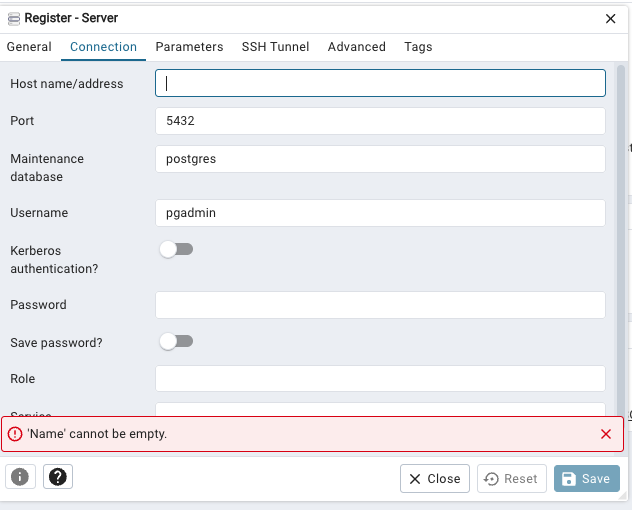
The last step is to register the Postgresql server in the pgadmin interface.
From a terminal, use the docker inspect command to find the missing information needed to establish the connection.
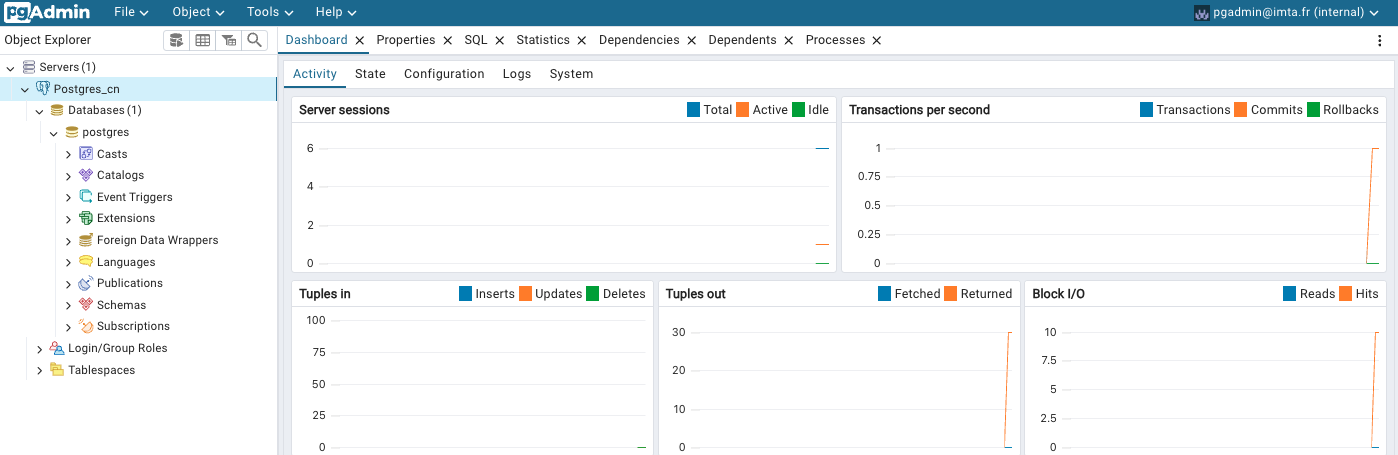
Once done, you should have access to your postgresql server.
Some best practices
Here are some best practices to consider when manipulating Docker images/containers:
- favor reduced images to start a layer (slim/buster/alpine)
- Don’t run everything as root
- Cleaning unused images/containers (docker system prune)
- prefer Docker volume over bind mounts
On this last point, mind that Docker images take (a lot of) space on your computer. Use docker image ls to list local copies of images and check frequently the size of the directory where your images are stored (/var/lib/docker by default on Linux systems but use the docker info command to know more about your Docker installation).